Beginner's Guide to Wreath Making
Welcome to the enchanting world of wreath making! If you're a beginner eager to adorn your doorstep with handcrafted beauty, you've come to the right place. No need to be intimidated – wreath making is simpler than you think, and with the right guidance, you too can create stunning decor for your home. Let's embark on this festive journey together!
Wreath making isn't just about the final product; it's an artisan process that allows you to express your creativity and style. You can create a classic evergreen wreath for Christmas, a pastel-hued one for Easter, or a whimsical seasonal masterpiece any time of the year. Plus, it's an eco-friendly way to celebrate, as you can use natural materials sourced from your garden or locally. So, let's dive into the art of wreath making and discover some beginner-friendly secrets!
Gathering Your Supplies and Materials
Before you plunge into the joy of wreath making, you need to assemble your basic tools and materials. Don't worry; you won't require an extensive shopping list. Here are the essentials to get you started:


- Evergreen branches or flowers
- Clippers or gardening scissors
- Wire cutter
- Wire – around 22-24 gauge, preferably in green to blend with your greenery
- Floral foam or oasis (optional, for adding blooms or dried flowers)
- Ribbon, bells, or other embellishments (optional)


Choosing Your Base Material
The backbone of your wreath is the base material – most commonly, evergreen branches like pine, juniper, or cedar. You can also use dried grapevine, willow, or other structurally sound materials. To create a base, intertwine and twist your chosen branches around a wire frame or a bare wire circle, securing as you go along.
Pro Tip: For a lush, full wreath, create your base with branches cut at varying lengths. This will give your wreath depth and dimension, making it look professionally crafted.
Securing Your Base Material
Once you've created your base, secure it tightly with floral wire. Start by twisting the wire around the fattest part of the branch, then pull it through the wire frame or the middle of your wreath. Tuck the excess wire underneath your base material to create a seamless look. Repeat this process every few inches around your wreath to ensure it's secure.


Remember, the wire will be visible at first, but as you add greenery and embellishments, it will blend in seamlessly. Don't be afraid to use plenty of wire – it's better to have too much than not enough!
Adding Greenery and Embellishments
A wreath doesn't have to be perfectly symmetrical or laden with-store-bought baubles to be beautiful. In fact, the handpicked, natural charm of a beginner's wreath is part of its allure. Let's explore how to add greenery and embellishments to enhance your creation.
First, consider your color palette and choose greenery that complements it. Evergreen hues range from deep evergreen to light minty shades, so there's plenty of room for creativity. Don't forget to incorporate texture – use different types of greens, like pine needles, juniper berries, and cedar leaves, to add depth and visual interest.
Adding Greenery
Now that you've decided on your greenery, it's time to add it to your wreath. Begin at the top of your base material, grabbing a handful of greens and sticking the ends into the wire frame. Gently pull the greenery through the wire, leaving the leaves facing outward. Once it's secure, fluff the greenery slightly to create a full, lush look.
Continue this process, working your way around the wreath. If you'd like, overlap the greenery slightly to hide the wire base. Remember, it's okay if your wreath isn't perfectly symmetrical – many of the most charming wreaths have an organic, asymmetrical feel.
Embellishing Your Wreath
The beauty of a handmade wreath is that you can personalize it however you like. Add a touch of whimsy with dried flowers, incorporate seasonal berries, or add a simple bow for a classic look. The key to embellishing is to keep it simple and balanced. Less is often more when it comes to decorating your wreath.
For a cohesive design, choose embellishments that complement your greenery and color palette. And don't be afraid to layer – add a mix of textures and materials for that perfect, handcrafted touch. Also, remember that anything you add should be secure, so it doesn't fall off when you hang your wreath.
Hanging Your Wreath
You've put so much care and creativity into your wreath – you'll want to show it off! Here are some tips for hanging your masterpiece with pride:
- Use a wreath hanger or hooks designed for wreaths, which can be found at your local craft store. They're easy to install and ensure your wreath hangs securely.
- Alternatively, you can use a sturdy ribbon or twine tied into a bow or a loop for hanging your wreath. Make sure it's secure and won't slip off.
- Position your wreath at eye level for the best visual impact. This will also make it easier for guests to see and appreciate your handiwork.
And there you have it – your stunning, handmade wreath! As you step back to admire your work, remember that there's no 'right' or 'wrong' way to create a wreath. Embrace the imperfections, enjoy the process, and celebrate your unique style. Happy wreath making, and may your doorstep always be graced with your beautiful creations!
Related Articles

Creating Christmas Cheer: A Beginner's Guide to Making Your Own Wreath
Decking your front door with a stylish and festive wreath is a wonderful way to welcome guests during the Christmas season. If you're a beginner eager to...

Beginner's Guide to Vegetable Garden Layout: A Step-by-Step Plan for Success
The joy of gardening often begins with a few simple vegetables, and designing a beginner-friendly garden layout is the perfect starting point. With the right...

Easy Resin Coasters: Beginner's Guide
Crafting your first set of resin coasters can be a rewarding experience, both creatively and in terms of the unique, handmade pieces you'll add to your home...

Beginner's Guide: Easy Resin Craft Projects for DIY Enthusiasts
Embarking on a creative journey with resin craft projects can be incredibly rewarding, and it's not as daunting as it sounds, especially for beginners. Resin...

"Mastering Fruit Farming in Grand Piece Online: A Beginner's Guide
Embarking on the Grand Piece Online, a vibrant and engaging open-world pirate game, can be a thrilling experience. As a beginner, one of the first resources...
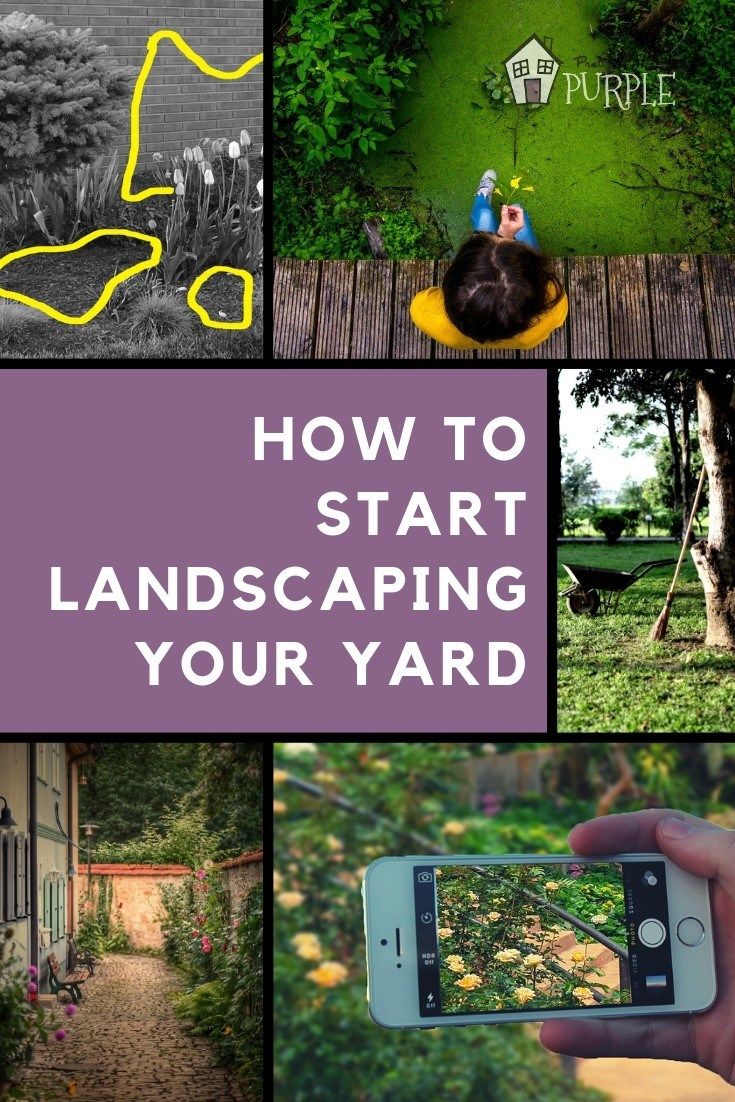
Beginner's Guide to Landscaping: Easy Gardening Ideas
Embarking on a beginner landscaping project can be an exciting journey, transforming your outdoor space into a personalized haven that's both beautiful and...